Does this situation jog your memory? You’ve just spent an hour meticulously hand-washing your car, using the highest quality car shampoo, soft Korean microfiber towels, and carefully air-drying your ride. As you take a step back to admire the glossy paint finish, you notice what appears to be tiny spider webs in your car’s paint. Instantly, a frustrated expression takes over your face as you realize that paint correction or polishing is the only solution.
If you’re like most car enthusiasts, you probably feel confident in washing your car and even applying spray-on coatings or hand waxing. However, when it comes to polishing or buffing a car as part of the paint correction process, many of us hesitate. And it’s completely understandable why.
So, let’s debunk some misconceptions about polishing a vehicle. In the information provided below, we’ll delve into the facts about paint correction. What does it achieve? When is it necessary? Why is it important? And once it’s done, how can you protect your vehicle’s paint from future damage?
What is Paint Correction?
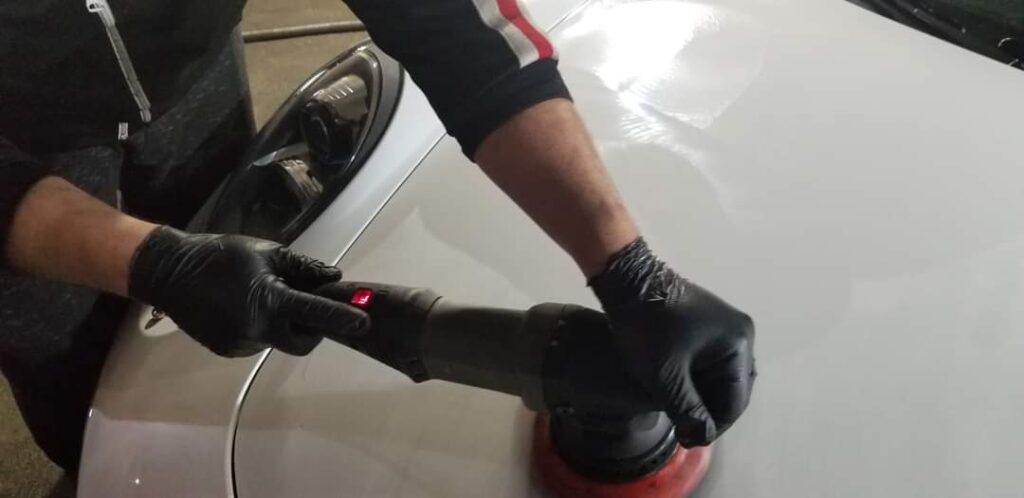
Paint correction refers to the meticulous procedure aimed at eliminating slight scratches and imperfections present in the clear coat of a vehicle. Employing an electric polisher, a microfiber buffing pad, and a specialized cutting compound, the detailer or the individual undertaking the task will meticulously abrade the clear coat of the vehicle’s paint until the scratches are leveled or completely eradicated.
When executed accurately and with patience, there is no reason to feel anxious. However, if you attempt to expedite the task, there is a risk of causing irreparable harm to the clear coating. That being said, performing paint correction on a car’s paintjob is an essential process if you intend to apply a nano ceramic coating or paint protection film.
The process of paint correction can be divided into several stages, primarily determined by the extent of damage to the clear coating.
Stage 1 Paint Correction
Paint correction refers to the meticulous procedure aimed at eliminating slight scratches and imperfections present in the clear coat of a vehicle. Employing an electric polisher, a microfiber buffing pad, and a specialized cutting compound, the detailer or the individual undertaking the task will meticulously abrade the clear coat of the vehicle’s paint until the scratches are leveled or completely eradicated.
Stage 2 Paint Correction
When the car’s paint exhibits moderate or medium swirl marks and scratches that have penetrated the clear coat, the next step is to proceed with stage 2. In this stage, you will utilize two different combinations of polishes and pads. Generally, the process begins with the application of a more abrasive polish, followed by transitioning to a finer compound to effectively eliminate any remaining light scratches caused by the initial step.
Stage 3 Paint Correction
If you find yourself in this situation, it is advisable to conduct thorough research and consider seeking assistance from a professional. This particular process consists of three steps and is recommended for cars with severe swirl marks, marring, or other noticeable defects in the paint job. The initial step entails utilizing a heavy cutting compound, a machine polisher, and a polishing pad to effectively address the paint damage. The second step involves gradually reducing the abrasive level, while the final step involves using a light polishing compound to restore smoothness and further improve the damaged areas.
Why is Paint Correction Completed?
Machine polishing is a specialized process aimed at eliminating imperfections from a vehicle’s painted surface. Typically performed as a preparatory step before applying a protective coating or film, this service is tailored to the specific requirements of the customer, taking into account factors such as paint type, surface imperfections, and customer preferences. The detailer carefully polishes the vehicle, targeting individual imperfections including:
- Eliminating fine scratches
- Removing spider webbing or swirl marks
- Addressing stains caused by animal waste (such as bird droppings and bug splatters)
- Removing calcium deposits (water spots)
- Correcting damage or uneven surfaces resulting from poorly installed DIY protective solutions
- Removing wax, paint sealants, or ceramic coatings from the paintwork
While there are liquid chemical products available for removing existing ceramic coatings, it’s important to note that their usage carries a risk similar to aggressive polishing, as they can potentially damage the clear coat of the vehicle’s paint.
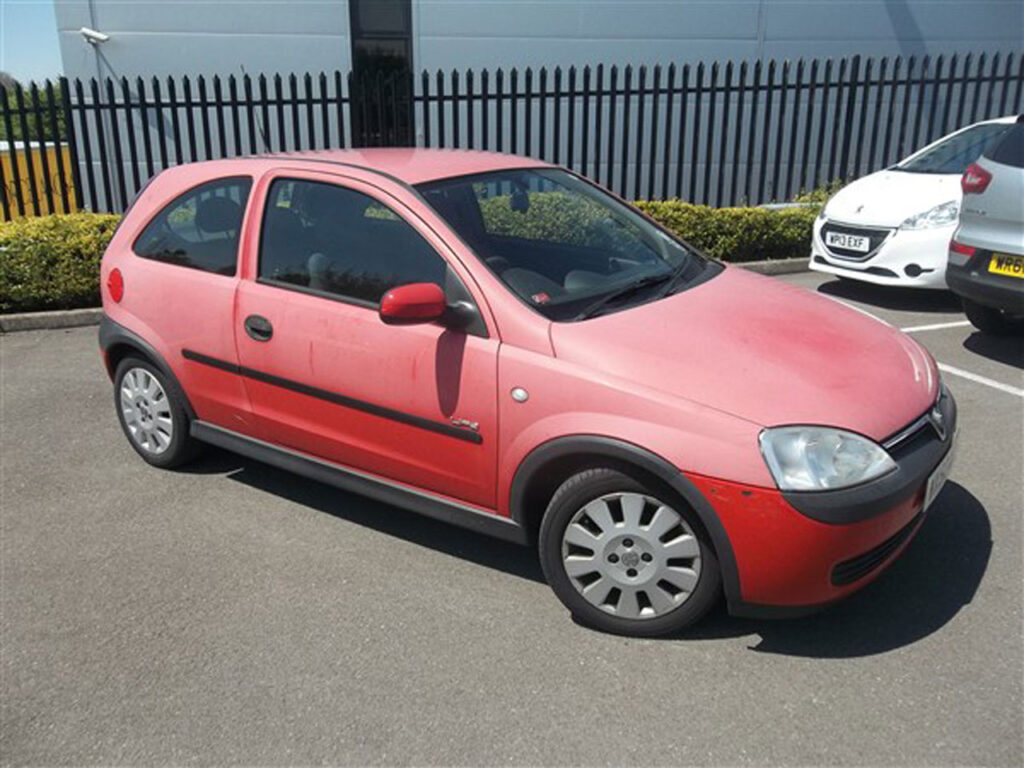
When a vehicle is exposed to the elements, intense UV rays gradually deteriorate the clear coat, causing oxidation. This process results in the faded appearance of the paint depicted in the image. At this stage, paint correction becomes a more intricate task that is best entrusted to a professional detailer in order to achieve optimal outcomes.
Does Paint Correction Remove the Clear Coat?
Indeed, the process of polishing does involve the use of an abrasive substance known as a cutting compound. When the electric polisher is activated, the polish liquid or paste is evenly applied onto the vehicle’s painted surface, generating friction that enables the cutting action through the clear coat of the paintwork. Various polishers are available in different grit levels, with some intended to fill scratches, while others are designed to remove the clear coat until the scratch is eliminated.
However, this introduces the potential risk mentioned earlier. If the scratch has deeply penetrated the clear coat, it is advisable to seek advice from a professional detailer or an auto body repair company before attempting to remove the damage. Cutting the clear coat too thinly can make it challenging for protective coatings to adhere to the surface. Furthermore, the paint will not achieve the desired level of luster or shine.
Is Polishing Needed Prior to Applying a Ceramic Coating?
The outcome largely relies on the condition of the car’s paint. Irrespective of the specific formulation or method of application, when a ceramic coating is applied, its primary function is to form a direct bond with the surface, harden, and create a protective layer. Once hardened, the coating becomes transparent, resembling glass, and accentuates the paint underneath.
Consequently, a glossy finish will exhibit a heightened level of glossiness, while a matte finish will exhibit enhanced depth. Any minuscule or barely visible scratches will be magnified or intensified. Similarly, swirl marks will become more prominent instead of being concealed. This dispels one of the most common misconceptions about DIY ceramic coatings and other paint protection products – that they fill in scratches and improve the overall paint condition.
Regrettably, achieving such improvement is only possible through paint correction. Therefore, if there are ANY imperfections present on the vehicle’s paint surface, it is highly advisable to engage a professional detailer to perform paint polishing or buffing as part of the preparation process.
Do You Need to Polish Small Scratches Before Applying PPF?
The response to this inquiry will vary depending on the nature of the scratch and the specific brand of paint protection film utilized. In the case of a PPF that incorporates nanotechnology, such as Ceramic Pro Kavaca Instant Healing PPF, the adhesive within the film has the capability to fill minor paint damage. However, for more severe defects, paint correction or body repair may be necessary.
Ceramic Pro Kavaca Instant Healing paint protection film is designed to repair the outermost layer if it becomes scratched. Moreover, this technology, combined with proprietary ingredients in the adhesive, has demonstrated the ability to address minor oxidation on a clear coat, fill small swirl marks, and even mitigate certain types of scratches.
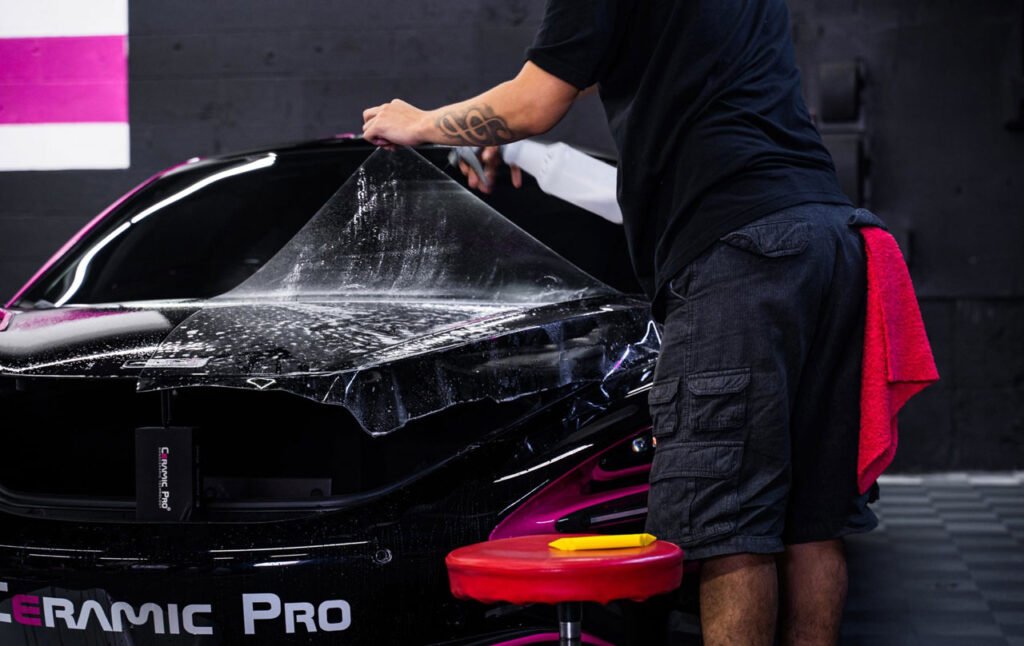
While it is generally advisable to have your paint in excellent condition before applying a paint protection film, there are circumstances where this concern can be minimized by choosing the appropriate PPF.
What Should You Use to Protect Your Vehicle from Future Damage?
While traditional car waxes and synthetic paint sealants have long been popular choices, advancements in technology have introduced more durable alternatives. If you’re seeking optimal protection that minimizes the risk of swirl marks on your vehicle’s surface, paint protection film or a professional-grade nano ceramic coating are highly recommended.
Ceramic Pro provides both options: Kavaca Instant Heal Paint Protection Film and Ceramic Pro 9H nano ceramic coating. Ceramic Pro 9H is available in four different packages for vehicle owners:
- Sport Package: Provides six months of protection
- Bronze Package: Offers two years of protection
- Silver Package: Ensures five years of protection
- Gold Package: Provides a lifetime of protection
Our nano coating reaches a hardness of 9H, equivalent to the strength of quartz. Unlike DIY coatings, our formulations are designed to build layers, resulting in increased depth for enhanced protection and longevity. This technology, combined with annual inspections, validates our warranty, setting us apart from other companies.
With Kavaca PPF, you can choose the specific parts of your vehicle that require protection from potential paint defects:
- Front Bumper: Applies the film to the front bumper, headlights, and fog lights.
- Partial Front / Clear Bra: Installs the clear bra on the front bumper, top of the hood, headlights, and exposed frontal area.
- Full Front: Expands coverage to include the entire hood, front fenders, side-view mirrors, and door cups.
- Entire Vehicle: Provides comprehensive protection for the entire vehicle’s paintwork, guarding against rock chips, road debris, ice melt, gravel, and blowing sand.
If you’re investing in professional paint correction for your vehicle, it makes sense to apply a high-quality paint protection solution. Click the button below to request a free estimate for Ceramic Pro 9H or Kavaca PPF.